Introduction
Online retail is fiercely competitive. Your ability to stand out and provide an exceptional customer experience is vital for increasing sales volumes and revenue.
Magento themes allow you to establish a unique visual identity and structure your storefront to maximize conversion rates. There are several ways to implement Magento themes:
- You can build a custom theme from the ground up.
- By using PHP Composer to retrieve theme packages.
- Install a fully optimized third-party theme.
This tutorial will focus on the last method. By following only 5 quick steps, you will learn how to download and install a new Magento Theme.
Prerequisites
- A working Magento 2 Installation.
- An FTP Client (WinSCP, FileZilla...)
- Access to a command line on your Magento server.
Note: If you need a quick and easy tutorial on FTP, check out our tutorial How To Set Up a Magento FTP Connection.
Install a New Theme in Magento
Magento 2 has a preinstalled store design based on the Default theme. If your Magento installation includes the sample data pack, you also have access to the Luma theme. In addition, Magento allows you to modify the existing themes, create a new theme, or apply a theme designed by professionals.
Note: Find out how to create or modify a theme by visiting the Magento Frontend Developer Guide.
Step 1: Choosing a Magento Theme
Thanks to a thriving developer community, there is a broad selection of Magento themes to bolster your store's look and feel.
Explore the themes on offer, preview their frontend and admin dashboards, compare prices and features, and select the ideal solution for your store. It may be costly to flip-flop on storefront design repeatedly.
Choose a theme relevant to your business model. Good themes are designed for specific use cases in mind and can provide cross-functionality with extensions that are just right for your store.
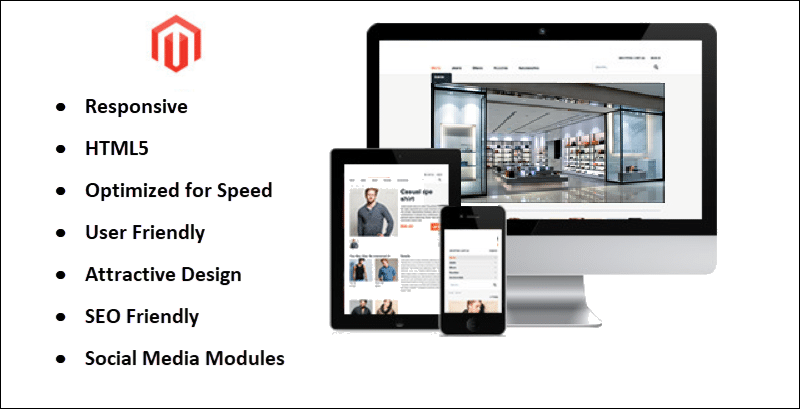
A theme can give you a competitive edge if it supports recent technological advancements. Your theme should include:
- The latest networking frameworks.
- Support for security features.
- Responsiveness for different devices.
- Browser cross-functionality.
- SEO tools and social media extensions (a must-have).
You can purchase and download themes directly from the Magento Marketplace app store or use themes and templates from third-party sources and platforms like ThemeForest. Some of the more popular themes include:
| Theme Name | Store Type | Main Feature |
|---|---|---|
| Porto | Multi-purpose | First-rate coding quality and free extensions. |
| Ultimo | Fashion, accessories, smartphones, etc. | Highly customizable and optimized for all screen resolutions. |
| Claue | Jewelry, fashion, and furniture shops. | Minimalist design with the option to integrate with Instagram shops. |
| Market | Large multi-category store. | A mobile specific layout offering a one-page checkout. |
| Destino | Hi-tech and digital products. | You can customize one layout for mobile devices and a separate layout for desktop devices. |
Extensively research and choose the storefront theme you want to install. When you are ready, purchase and download the theme package to your local device.
Step 2: Upload Theme to Magento Server
Once you download your new Magento theme:
1. Unpack the content of the compressed theme folder.
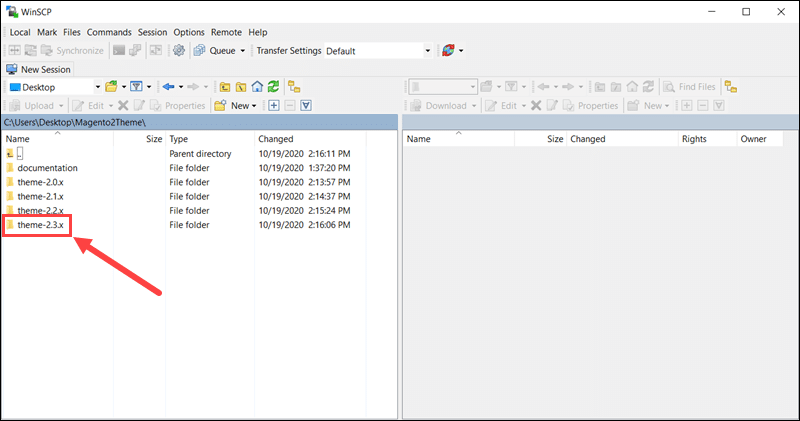
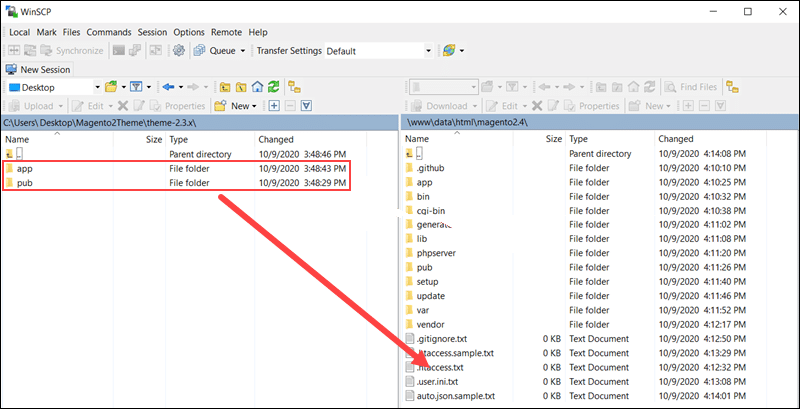
2. Launch an FTP Client, such as WinSCP or FileZilla, and navigate to the unzipped theme folder on your local device. Theme packages usually contain themes for multiple Magento versions. Select the version that corresponds to your Magento store version.
In this example, the selected folder contains files for the Magento 2.3.x version.
3. Locate the app and pub folders within the theme folder.
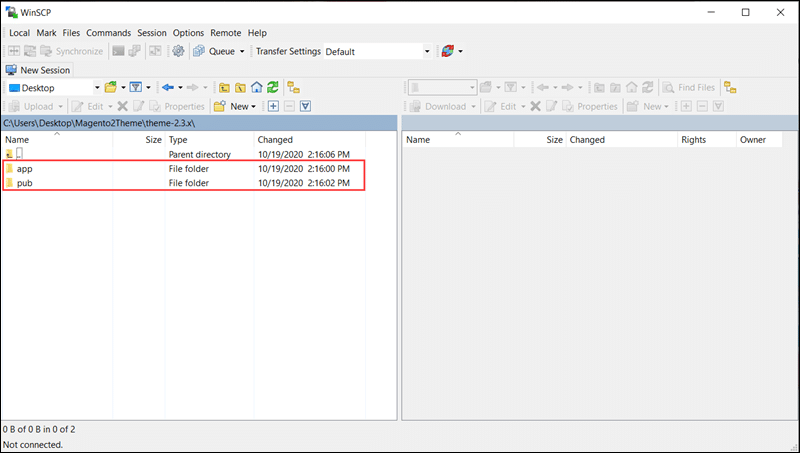
4. Use the FTP Client to establish a remote connection to your Magento server.
5. Upload the app and pub folders to the Magento root folder.
Note: Drag the folders over the files in the Magento root folder. This way, you avoid copying the theme into existing folders by mistake.
If you see a message that the directories already exist, you can confirm that you want to merge them. This action adds the theme to Magento and does not overwrite core Magento files.
Depending on the theme's size, the uploading of the package can take several minutes to complete.
Step 3: Upgrade Magento from the Command Line
To enable and activate the modules you uploaded:
1. Establish a secure remote connection to your Magento server.
2. Use the command-line interface to navigate to your Magento root directory.
Note: Always consult theme user guides during the installation process as the commands can be different for some themes.
3. Enter the following command to run the Magento upgrade scripts:
bin/magento setup:upgrade4. Generate static frontend files for the new Magento theme:
bin/magento setup:static-content:deploy -fThe modules you uploaded are now enabled and activated.
5. Check the current Magento mode:
bin/magento deploy:mode:showThe output shows that the application mode is set to default.

6. Switch to the Developer mode to track and debug potential errors:
bin/magento deploy:mode:set developerBe sure to revert to the Production mode once your website is ready to go live.
Step 4: Update Theme in Admin Panel
To update your Magento theme:
1. Access the Magento Admin Panel.
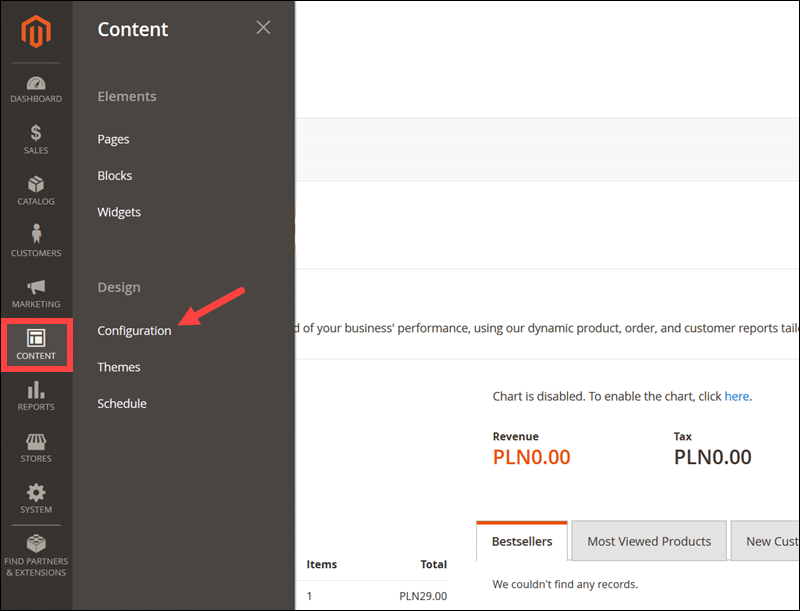
2. Select the Content tab on the Admin sidebar.
3. Click the Configuration option under the Design heading.
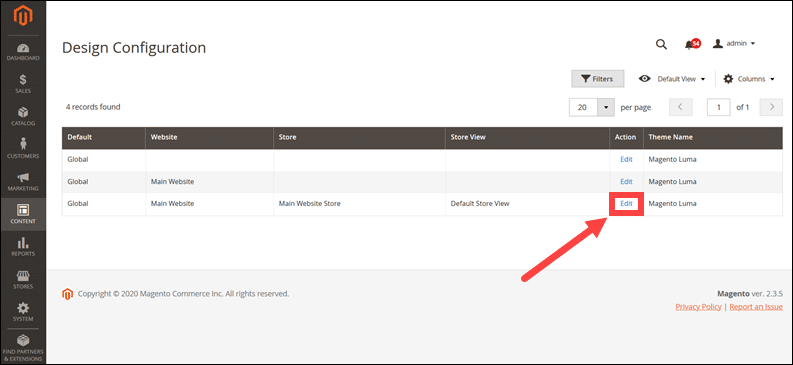
4. Click the Edit option for the configuration record that corresponds to your store view. It is located in the Action column.
5. Open the Applied Theme drop-down menu and select the theme you uploaded.
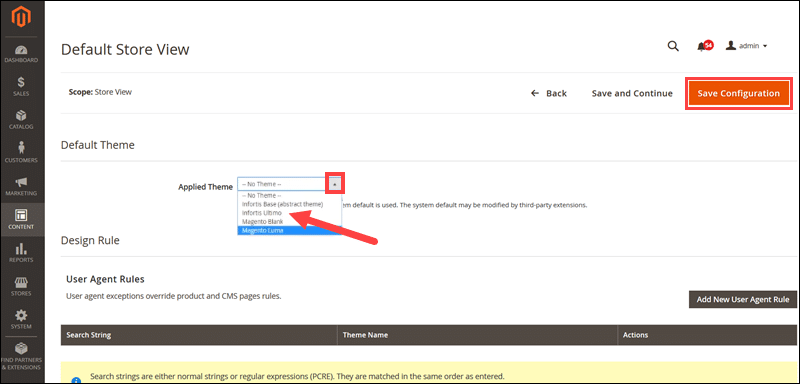
6. Click the Save Configuration tab to apply the new configuration.
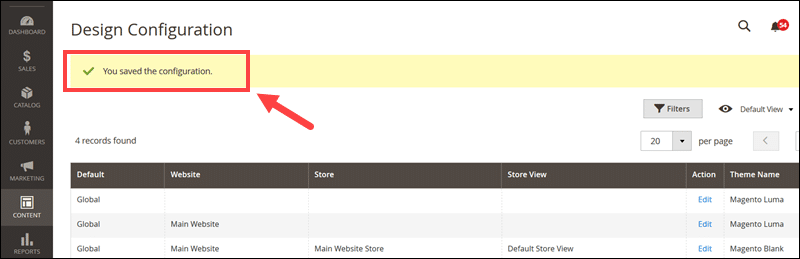
The system displays the confirmation message.
Step 5: Flush Magento Cache
To see the newly installed theme, you need to flush the Magento cache:
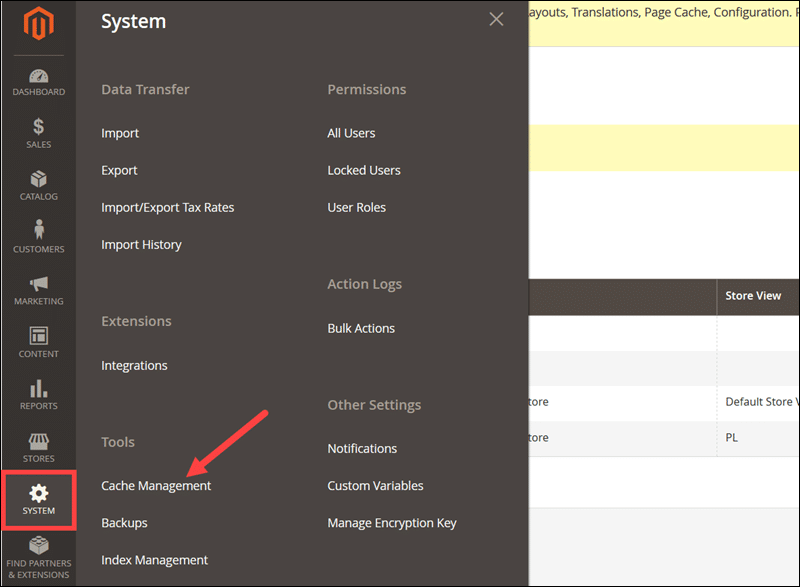
1. Navigate to the System tab and select the Cache Management option.
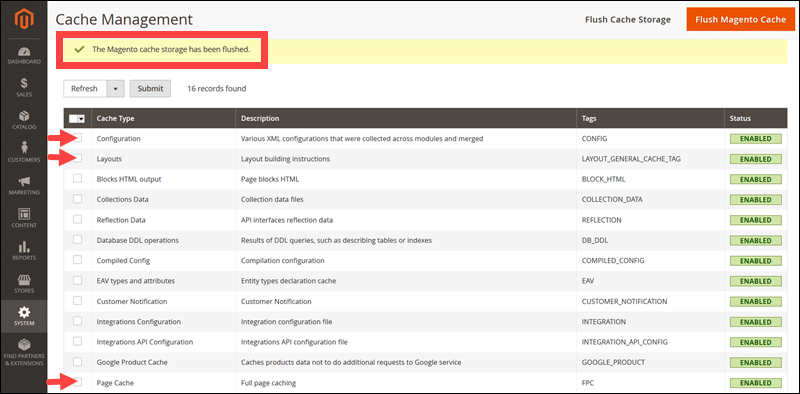
2. Click the Flush Magento Cache tab.

3. (Optional) Once Magento confirms that the cache was successfully flushed, you can disable the Configuration, Layout, and Page Cache types. This disables messages telling you to flush the cache anytime you make changes while setting up your storefront.
4. Reload your storefront URL to apply the new theme.
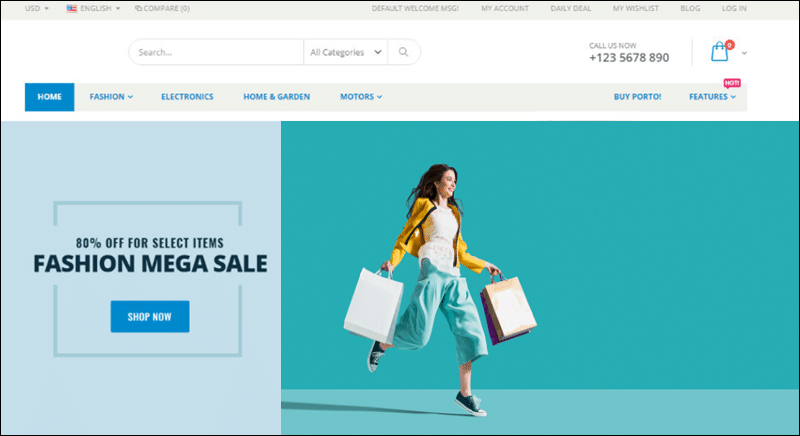
Continue to tweak and customize the theme you installed and try to create a captivating online shopping environment.
Conclusion
You have successfully installed a new Magento theme. Using popular and professionally designed themes will help you develop a thriving business. After installing a new theme, our suggestion is to also learn how to add a payment method to Magento.
Moreover, by refashioning run-of-the-mill layouts and images, you gain a significant advantage over your competitors.
