FlexForms Image Library
The FlexForms system allows merchants to customize payment forms by adding banners and images. Merchants can use these images to promote their brand and advertise upcoming discounts or products directly on the payment form.
Before an image can be used in FlexForms, it needs to be uploaded and stored in the FlexForms Image Library.
This guide explains how to upload images, their dimensions, maximum allowed file sizes, and supported formats.
How to Format Your Images
| Image Type | Displays on Desktop | Displays on Tablet | Displays on Mobile | Image File Formats | Max Image Dimensions (width x height) | Max Image File Size |
|---|---|---|---|---|---|---|
| Top Banner | Yes | Yes | Yes | PNG, transparent PNG, JPG/JPEG, GIF, and animated GIF | 960 x 100 pixels | 250kB |
| Left and Right Top Banner | Yes | Yes | No | PNG, transparent PNG, JPG/JPEG, GIF, and animated GIF | 150 x 270 pixels | 250kB |
| Left and Right Bottom Banner | Yes | Yes | No | PNG, transparent PNG, JPG/JPEG, GIF, and animated GIF | 150 x 270 pixels | 250kB |
| Promo - One Image on Top | Yes | Yes | No | PNG, transparent PNG, JPG/JPEG, GIF, and animated GIF | 600 x 90 pixels | 250kB |
| Promo - One Image for each Promo | Yes | Yes | No | PNG, transparent PNG, JPG/JPEG, GIF, and animated GIF | 60 x 60 pixels | 250kB |
| Promo - One Image on the Left | Yes | Yes | No | PNG, transparent PNG, JPG/JPEG, GIF, and animated GIF | 60 x 340 pixels (covers 5 promo slots) | 250kB |
You will receive an error message if you upload an image larger than the maximum allowed dimensions.
How to Upload a Banner/Image
To upload an image in the FlexForms Image Library:
1. Access the Admin Portal.
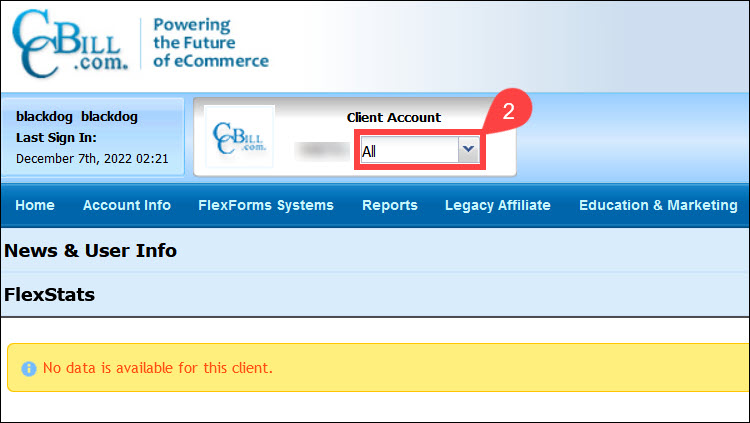
2. Set the subaccount dropdown menu to All.
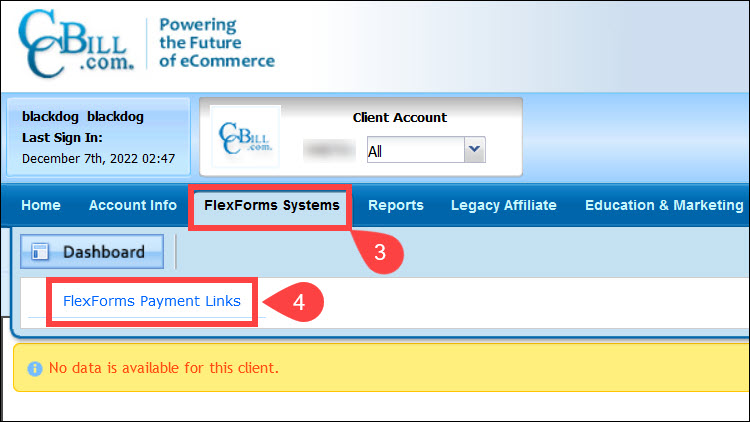
3. Click FlexForms Systems.
4. Select FlexForms Payment Links.
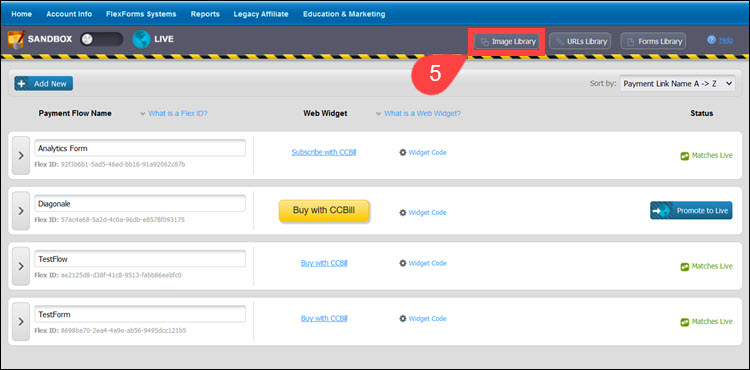
5. Open the Image Library.
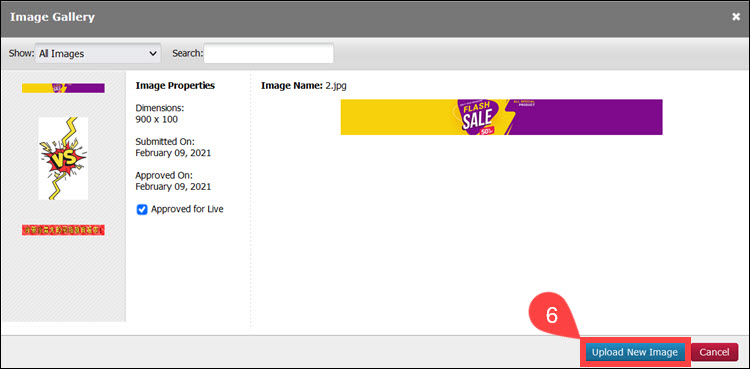
6. Select Upload New Image.
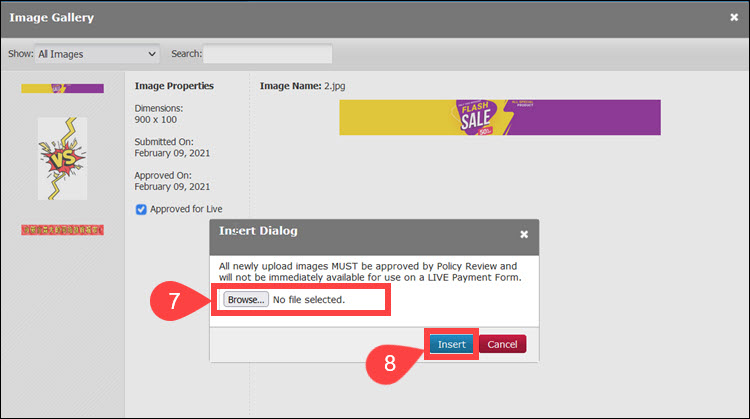
7. Browse to select the image file you want to upload.
8. Click Insert to upload the image file.
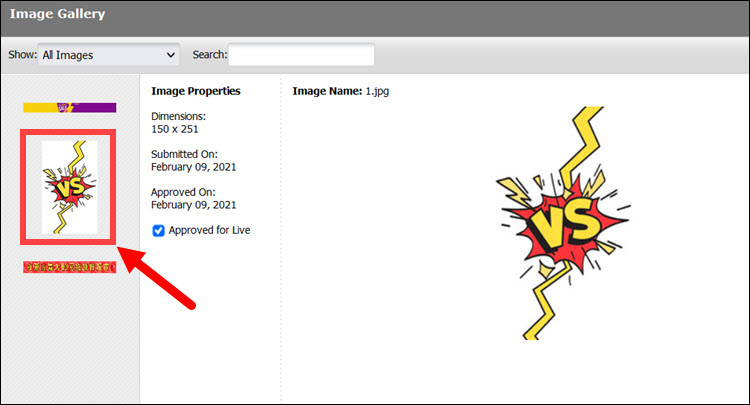
The Image Library contains all the images uploaded to the FlexForms system. Merchants can filter the images by status or search images by keyword.
Clicking an image thumbnail in the left pane displays a larger version on the right, along with image properties.
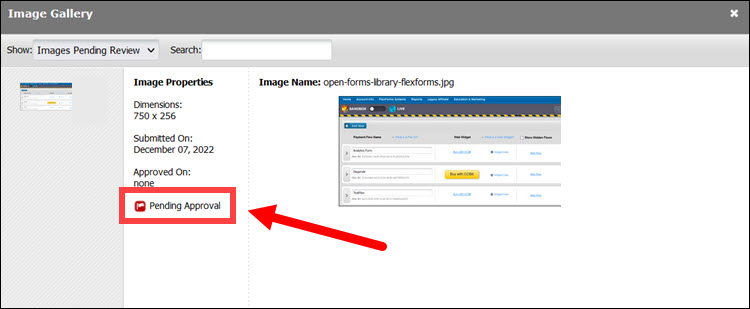
Pending Approval Status
Once an image is uploaded, it receives the Pending Approval status. A dedicated team of CCBill employees reviews the uploaded image before approving its content. The entire process takes up to 24h.
To meet the approval criteria, the image must be free of nudity, profanity, and unauthorized use of intellectual property, among other requirements. While this is not an exhaustive list, failing to comply with any of these three guidelines will result in automatic rejection.
When the review is complete, and the image is approved, it receives the Approved for Live status. At this point, merchants can set their FlexForms to Live.
FlexForms also receive a pending approval status when merchants change the Product Description or use a Custom CSS for their forms.
Add Images to Payment Form
CCBill offers predetermined visual themes, but FlexForms can be visually modified to resemble the look and feel of your website.
To insert an image on the payment form or approval page:
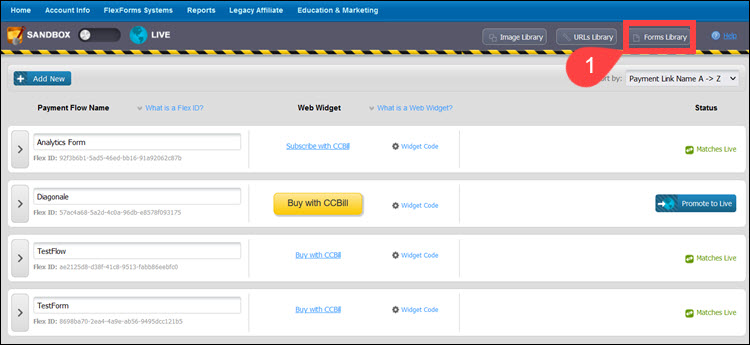
1. Open the Forms Library.
2. Select a form from the scrollable area on the left.
3. Expand the All Settings tab. A list of settings will be on the left.
4. Use the following settings to add your images to the form:
| Setting | Description |
|---|---|
| Banner Image | Select an image for your banner. It will appear at the top of the Form. |
| Approval Message | Add an image to the approval page. |
| Image 1/2 | Topmost and lowermost on Form. Depending on the layout, you might be unable to add these images. |
| Promotional Offers | Add images to complement your promotional offers. |
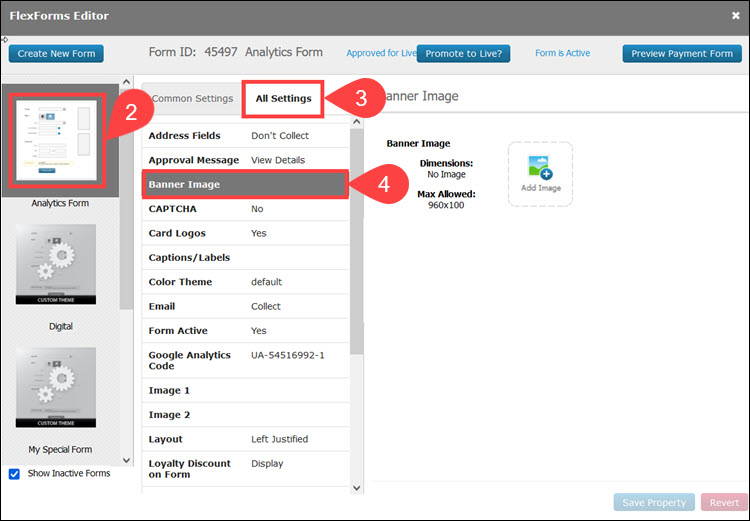
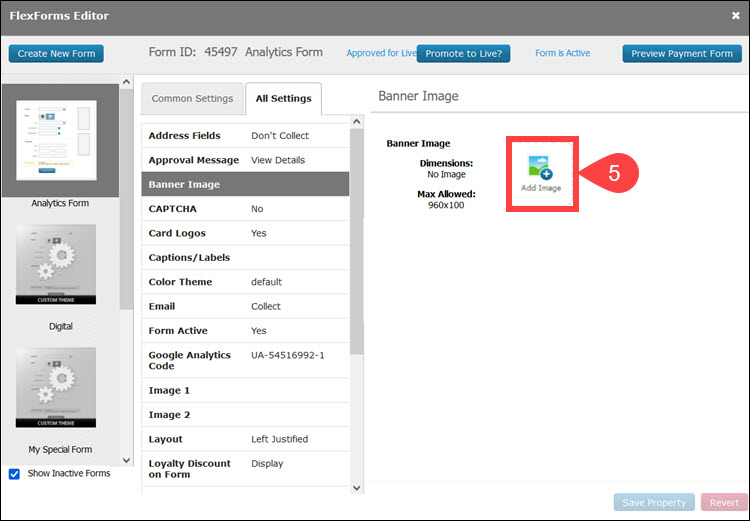
5. Click Add Image to open the Image Gallery popup window.
6. Select one of the available images and click Insert Image.
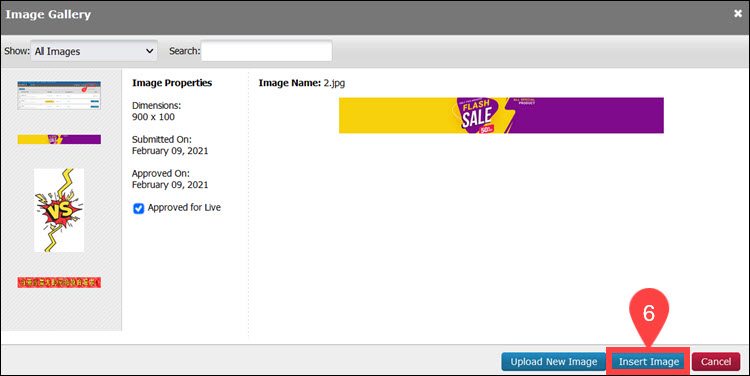
Selecting an image that has yet to pass CCBill’s Policy Review will result in your form not being available for immediate use. You can set your form to Live once the image has been approved.