FlexForms Quick Start Guide
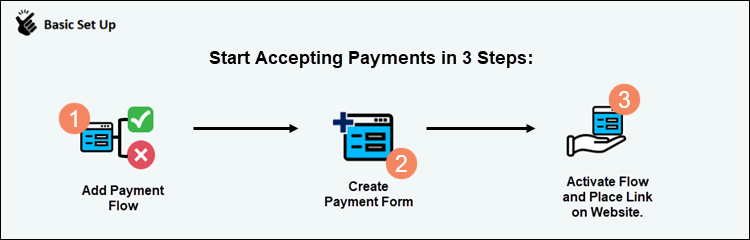
To begin accepting payments, you must create at least ONE Payment Flow and ONE Payment Form. After activating your payment flow link, place it on your website to make it available.
When a consumer clicks a Buy Now button, they are directed to a payment form within your payment flow.
The Payment Flow concept allows you to modify its components, such as the payment form or consumer redirections, without changing the initial payment links or buttons placed on your website(s).
Set Up FlexForms
To create a new FlexForms payment flow and form in the Admin Portal:
Step 1: Add a Payment Flow
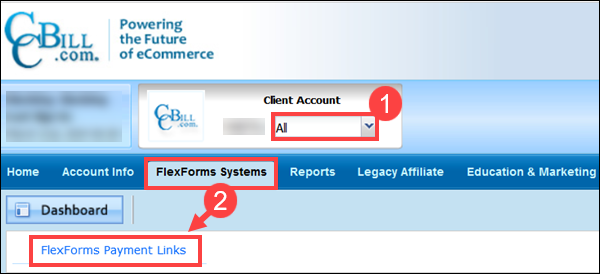
1. Set the subaccount dropdown menu to All.
2. Open the FlexForms Systems mega menu and click FlexForms Payment Links.
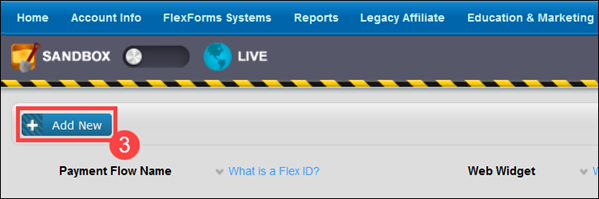
3. Click the Add New button on the FlexForms landing page.
4. Enter a Name for the new Payment Flow.
5. The Primary tile is the starting point of the Payment Flow. Select A New Form in the Redirect To section.
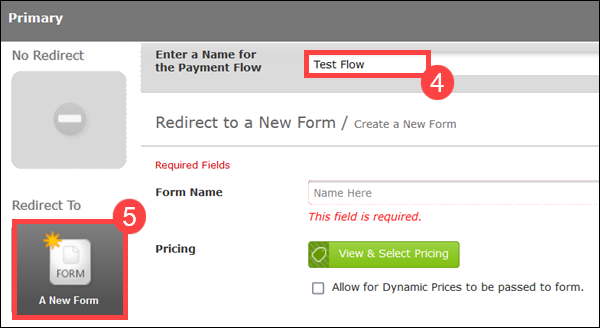
Alternatively, select Existing Form to use a previously made Form or URL to redirect consumers to a custom URL.
Step 2: Create Payment Form
1. Enter a Form Name. The form name is an internal designation that is not visible to customers.
2. Click View & Select Pricing.
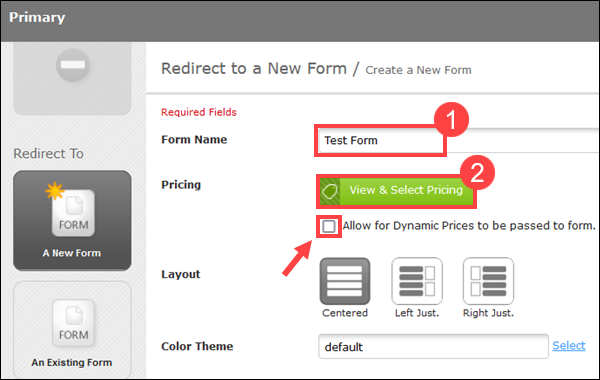
Note: Check the box to enable Dynamic Prices on the payment form. Dynamic Pricing allows you to create new pricing options on the fly by passing variables into CCBill FlexForms.
4. Check the boxes at the far left of the window to assign prices. You can select multiple price points. The prices appear on the form in the order that they were clicked.
5. Click OK to confirm the selection.
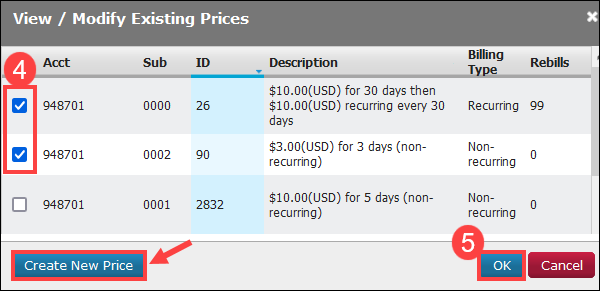
Note: Click Create New Price to create a new pricing option. You will be redirected to the Pricing Admin, where you can create pricing from scratch or modify your current price points.
6. Click Save to create the new payment form and flow.
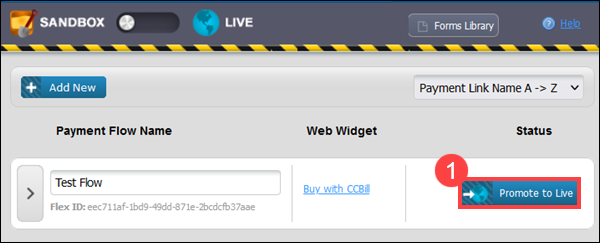
Step 3: Activatе Payment Flow
You must insert a Web Widget button or hyperlink on your website to redirect customers to an active payment flow.
1. Click Promote to LIVE to push the Payment Flow to the Live environment.
2. Click Yes (Promote to Live) to confirm your choice. Promoting a payment flow to the Live environment prompts the FlexForms system to generate a Web Widget code automatically.
3. Select the Widget Code button in the recently promoted Payment Flow row.
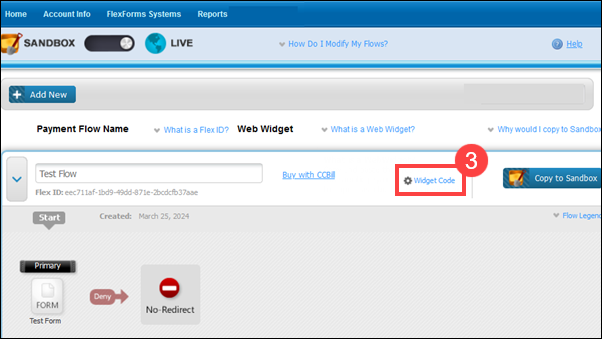
4. The right side of the Link Codes window displays the Widget Code and URL necessary to launch the LIVE version of the Flow.
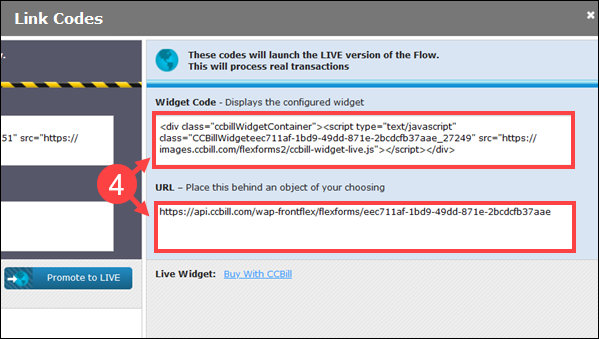
5. Copy the configured LIVE Widget Code Snippet or URL and embed it in your website's code to use the Web Widget functionality.
Now customers can click on the button or hyperlink to open the Payment Flow.
Advanced Settings
Designed for maximum flexibility, FlexForms supports a wide array of business models and payment options. The advanced section explains how to streamline payment flows and customize payment forms to deliver a superior purchasing experience to your customers.
Payment Flow Options
- Modify Form. Customize the Primary Tile in your payment flows.
- Modify Redirect Tile. Redirect customers to a specific location after their transaction.
- Sandbox vs. Live. Switch between two FlexForms modes to effectively manage payment flows.
- Flex ID. Learn where to find the Flex ID. It is essential for integrating with third-party solutions.
- Rename Payment Flow. Rename and repurpose existing payment flows.
Payment Form - All Options
Form Fields
- Address Field. Decide if you want to collect customer address information.
- Collect Phone Numbers. Decide if you want to collect customer phone numbers.
- Consumer Email. Define the format for consumer emails.
- Add CAPTCHA. For an added level of security, add CAPTCHA.
- Card Logos. Choose to display additional card logos.
Modify Visuals
- Color Theme. Choose the color theme of the Form.
- Form Layout. Choose between Centered, Left Justified, and Right Justified Layouts.
- Images. Add images for different layouts.
- Captions and Labels. Choose what text will appear on the form.
Loyalty Discounts
- Display Loyalty Discount. Show loyalty discounts on payment forms.
- Loyalty Discount on Approval. Choose to display Loyalty Discount with Approval Message.
- Approval Message. Turn on the approval message.
System Settings
Customize Web Widget
Merchant Support
If you need any further assistance in setting up FlexForms, or if you have any questions regarding FlexForms, contact our 24/7 Merchant Support service:
- Via email at merchantsupport@ccbill.com.
- Initiate an online chat session.
- Or call our support service at 800.510.2859.